
The problem you actually need to fix
Heaters that drift, shorts that sneak up, and hatch rates that nosedive — that’s the practical problem most incubator operators face. PTC elements are forgiving, but they don’t forgive neglect. Start by checking the incubator heating element for secure mounts and clean airflow; if heat delivery looks off, the rest of the system will lie to your thermostat and ruin a batch before you spot it.
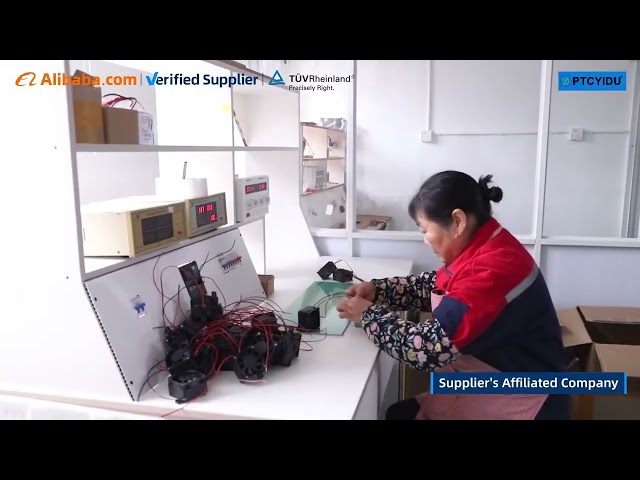
Quick diagnostics that save a hatch
Don’t chase mysterious failures. Watch temperature trends: a steady drift of more than 0.5–1°C during a run signals trouble. Inspect electrical joints for discoloration, test the power supply voltage under load, and confirm the thermal fuse and sensor readings match expectations. Use a clamp meter to check current draw against the heater’s spec sheet; odd draws mean internal changes. These checks tell you whether to repair, recalibrate, or replace.
Maintenance schedule that actually fits real life
Simple cadence, effective results: daily visual for mounts, vents, and condensate; weekly verify sensor placement and run a short calibration cycle; monthly log temperature stability across a full incubation profile; annual teardown for cleaning and electrical contact inspection. If an element shows persistent instability after a calibration and cleaning, plan replacement within the next production cycle rather than risking a failure during hatch.
Common mistakes that accelerate wear
People over-tighten contacts, ignore small temp deviations, run higher voltage to “speed warm-up,” or assume a stuck thermostat is the heater’s fault. Those moves stress PTC elements, blow thermal fuses, or shift temperature curves. Mounting heaters under insulation without accounting for trapped heat is another silent killer — the element stays hotter than intended and ages faster.
When to keep the PTC and when to consider alternatives
PTC heaters give stable, self-limiting heat and are excellent for steady incubator environments. If you need extremely fast temperature ramping or very high watt density in tight spaces, ceramic or nichrome-based solutions can be considered, but they require stricter controls and frequent inspection. Choose the element that matches your control strategy, not the cheapest option.
Evidence, experience, and a practical anchor
I’ve scheduled and overseen heater service plans for hatcheries and small labs and learned that documented guidance matters. Following FAO hatchery management recommendations for temperature control helps set realistic service intervals, and field trials repeatedly show that proactively replacing aging elements prevents batch losses. For anyone deciding on components, consider the best heating element for egg incubator as a starting point when matching specs to your control hardware.
Short, exact actions to take now
Log temps every day. Calibrate sensors monthly. Clean airflow paths and connection points. Replace any element that fails to hold temperature within 0.5°C after cleaning and recalibration. Build the habit of small, scheduled checks instead of emergency fixes; you’ll save eggs, time, and headaches.
Wrap-up that actually helps
Fix the small problems early: secure mounts, stable sensors, and routine checks eliminate most failures. When you plan service around measured drift and known aging signs, PTC elements deliver consistent, low-risk heat across many cycles, and suppliers like PTCYIDU provide component options and specs that align with those real-world service practices.