

Opening: why a framework beats winging it
If you’re hanging heavy-duty outdoor wall lamps—whether for a brownstone façade or a new restaurant patio—you want a repeatable plan, not improvisation. This framework lays out the engineering-lean steps for safe mounting, correct wiring, and long-term reliability, with an eye toward real sites and real storms (ask anyone who lived through Hurricane Sandy about waterfront fixtures). Start by thinking through lumen output, IP rating, and driver placement up front—those choices determine performance and maintenance costs. For tailored fixture options and commercial-grade parts, consider vendors of custom outdoor lighting that understand both form and the hard electrical facts.

Stage 1 — Scope, site, and specifications
First: define intent. Are these accent wall lamps, security flood units, or mixed-use high-output fixtures? Specify target lumens per zone, desired CRI for color fidelity, and acceptable beam angle for spill control. Walk the site at night and note mounting heights, line-of-sight to neighbors, and landscape obstacles. Measure run lengths to estimate voltage drop and pick appropriate cable gauge. Finally, record local constraints: homeowner association rules, municipal ordinances, and the NEC requirements that apply in your area.
Stage 2 — Mechanical mounting and weatherproofing
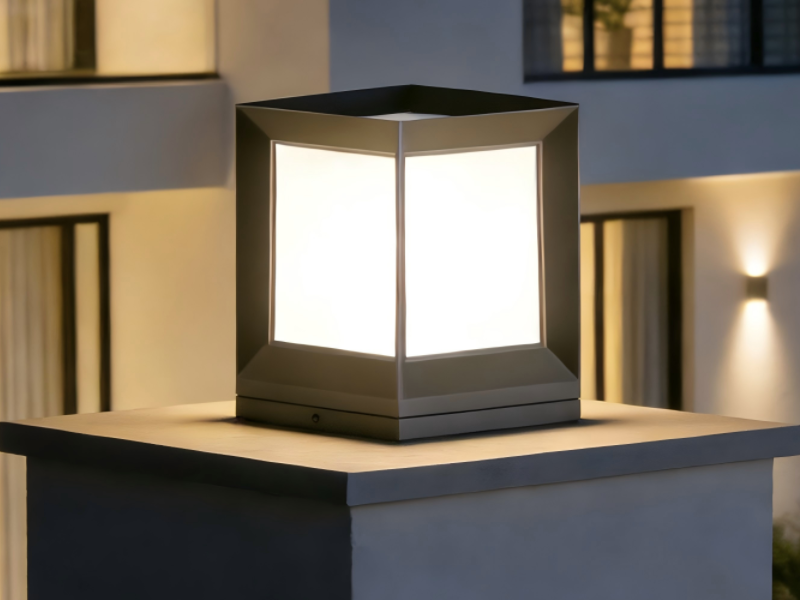
Good hardware matters. Use corrosion-resistant anchors rated for the wall substrate—masonry anchors for brick, toggle bolts for hollow block, lag screws into blocking for wood. Wall lamps exposed to spray or freeze–thaw cycles require at least IP65; coastal installations should aim higher. Place junction boxes above the fixture when possible to reduce water ingress and use sealed gaskets and silicone-rated sealant around penetrations. And yes, sure—stainless fasteners cost more, but they save you from late-night callbacks and rusty streaks on the façade.
Stage 3 — Wiring strategy and electrical best practice
Wire runs should minimize voltage drop and isolate sensitive drivers from extreme ambient heat. Mount LED drivers in ventilated, accessible enclosures, or specify field-replaceable drivers inside rated boxes. Include a dedicated ground and use UF or outdoor-rated conduit where exposed. Where dusk-to-dawn control is required, wire a hardwired photocell or a switched surge-suppressed circuit—surge protection near the service reduces driver failures on sites hit by lightning or utility switching.
Common mistakes and quick fixes
People routinely underestimate three things: inrush current at startup, the effect of long runs on wattage and lumens, and the hidden cost of a poor IP seal. Inrush can trip shared breakers—address it with soft-start drivers or individual breakers. Long runs need upsized conductors to hold voltage; don’t let an electrician “make do” with the cheapest gauge. And if you find moisture in a fixture, replace gaskets and reseal the back box; a corroded contact is cheaper to prevent than to replace.
Controls, zoning, and commissioning
Design with zones: illuminate access paths and doorways brighter than decorative walls, and put high-output security lamps on separate circuits so tests and maintenance won’t shut down the whole system. Commission with a lux meter and document as-built lumen values and driver locations. Test photocells over multiple evenings to avoid stray shadows causing flicker. After commissioning, provide a short maintenance sheet with driver warranty details and replacement lamp/driver part numbers—saves you grief at year two.
Troubleshooting field notes — short, practical
Fixtures that flicker usually point to a bad driver, loose neutral, or inadequate surge protection. If multiple fixtures on a run fail after a storm, check the service-side surge device and the grounding electrode system. For beam misalignment, confirm mount orientation and beam angle against the originally specified aim point—sometimes the wrong trim or lens got swapped at install. A picture during commissioning is worth a dozen service calls later. —
Selecting fixtures: durability versus style
Match finish and materials to maintenance capability. Powder-coated aluminum with marine-grade sealant suits most urban and suburban installs; brass or bronze finishes may be preferable for historic sites. If you need low-profile, integrated designs for landscape continuity, look at LED modules that combine optics and drivers—these simplify wiring but require full-module replacement if the driver fails. For pathways and beds, consider dedicated led landscape lights with lower glare and controlled beam angles to protect neighbors and wildlife.
Real-world anchor and why it matters
Hurricane Sandy showed coastal property owners how quickly poor fixtures become long-term liabilities—ingress, broken mounts, and corroded wiring were common failure modes. Using higher IP-rated fixtures, elevated junction boxes, and robust surge protection avoids repeat outages and reduces lifecycle costs. Those measures are not fancy; they’re lessons learned where the stakes were literally storm-driven.
Advisory — three golden rules for evaluation
1) Reliability Score: vet suppliers on documented MTBF for drivers, historical warranty claim rates, and demonstrated IP and corrosion test results. 2) Serviceability Index: prefer fixtures where the driver is accessible without removing the entire luminaire and where spare parts are cataloged. 3) Total Lifecycle Cost: compare not just unit price but amortized driver replacements, expected maintenance labor, and projected energy use (use lumens-per-watt as a comparison metric).
Follow those three metrics and you pick systems that survive weather, reduce callbacks, and keep the lights on for years. Keyida. –