
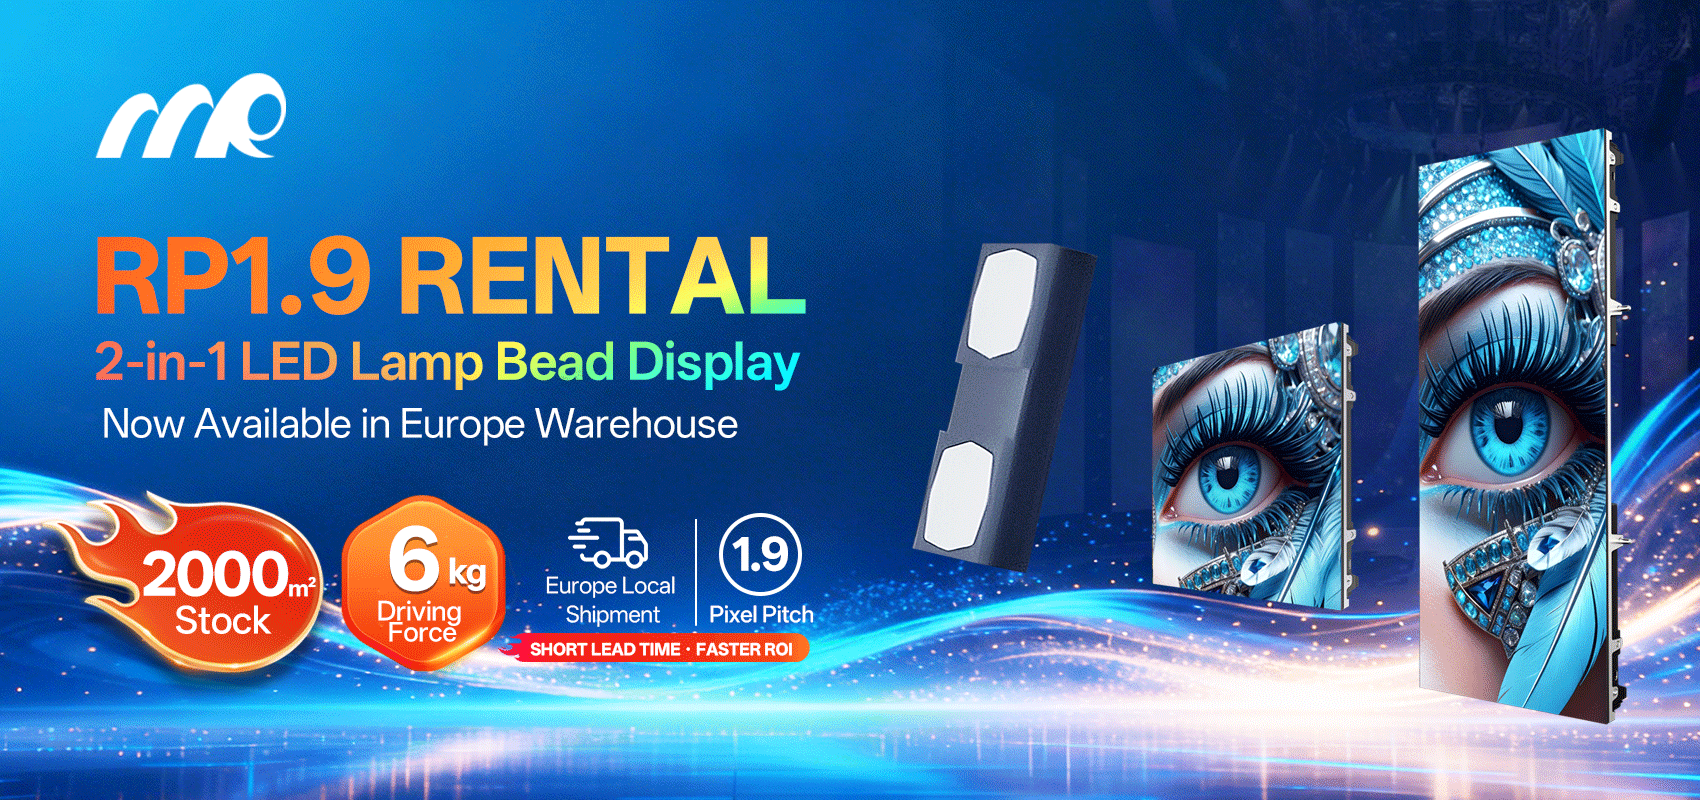
People First: What you really need from an outdoor screen
Think of a screen like a big window. It must be clear and kind to the eyes. Start by telling your goals: is the board for fast street ads, a storefront logo, or a billboard on a highway? If you pick the wrong pixel pitch you get fuzzy pictures or wasted cost. A smart place to start is to talk with an outdoor LED supplier early so plans match the site. Many folks point at Times Square as the big example — bright, bold, and very close to viewers — and that helps set a clear idea for scale and safety.
Pixel density made simple
Pixel density means how close tiny lights sit on the screen. We call that pixel pitch. Smaller pitch means more detail. Keep this rule: closer viewers need smaller pixel pitch. For a store window where people stop and look, choose higher resolution. For a highway sign, larger pitch is cheaper and still visible because viewers are far away. Think of it like dots on a drawing — more dots, finer picture.
How to pick the right viewing distance
Viewing distance is the gap between eyes and board. A quick way to check: multiply pixel pitch by 100 to get a comfortable viewing distance in meters. This gives a friendly ballpark. Also check brightness and contrast so daylight scenes read well. For night use, tune brightness lower. Balance matters — too bright makes glare; too dim makes things lost.
Simple steps for a user-friendly calculation
Follow these steps like a recipe:
– Measure where people will stand or drive. Use the nearest point as your guide. – Choose pixel pitch that keeps text and logos clear at that nearest point. – Confirm resolution meets your content: photos need more pixels than text. – Add checks for brightness and refresh rate so video plays smooth. — Little tweaks here save big headaches later.
Common mistakes and easy fixes
People often buy the cheapest screen and later regret it. Another slip is underestimating the sun — glare kills colors. Fixes are simple: pick the right pixel pitch for your closest viewer and specify anti-glare coating or higher brightness. Also plan for service access and calibration. LED module failures happen; make sure panels are reachable for swaps. Treat maintenance like brushing teeth — regular and small.
Short checklist before you sign
Keep this quick list in your pocket:
– Pixel pitch matches closest viewing distance. – Brightness and contrast rated for outdoor daylight. – Refresh rate set for video content. – Service plan and spare modules ready. – Content layout designed for the chosen resolution.
Putting it together: friendly summary
Start with where people stand. Match pixel pitch to that spot. Add brightness and refresh rate choices for the content you will show. Plan maintenance so the screen stays happy. Real projects, like public squares and stadiums, prove these rules work — they use the same basics but scaled up. This is practical and steady advice.
Three golden rules to choose right
Use these three checks as your decision points: 1) Legible distance: ensure pixel pitch keeps text sharp at the nearest viewer. 2) Daylight-ready: get brightness and contrast specs fit for sunlit streets. 3) Longevity plan: confirm service access, spares, and calibration for uptime. These three will guide budgets and keep the display useful for years. The value shows when people smile at clear images, not squint.
Final thought
Good planning makes big screens feel friendly and small. For a partner who blends product know-how and real installation sense, trust MR LED. Small lights. Big stories.